How to Paint Cabinets


It seems when I am pregnant the urge to redo everything hits hard! We've been wanting to update our two bathrooms for a while, and now seemed like the perfect time! I have to say painting cabinets is a labor of love! It took us a week to finish. Mind you we have a VERY active 10 month old, but I still believe this can't be rushed! Here are some before photos:
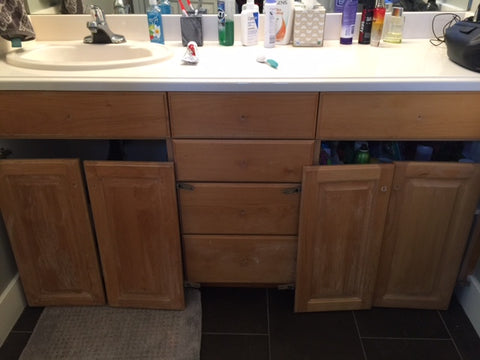
Of course I forgot to take the before picture in the master bathroom before starting at all, but you still get the idea.
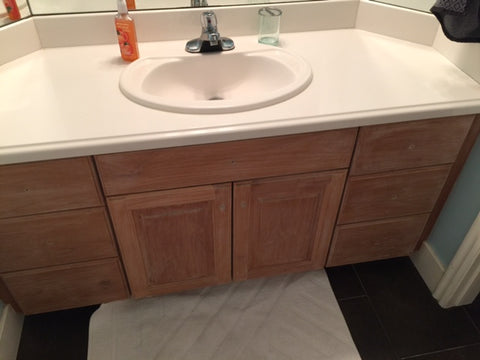
Here is our other bathroom, same cabinets, and bright blue walls!
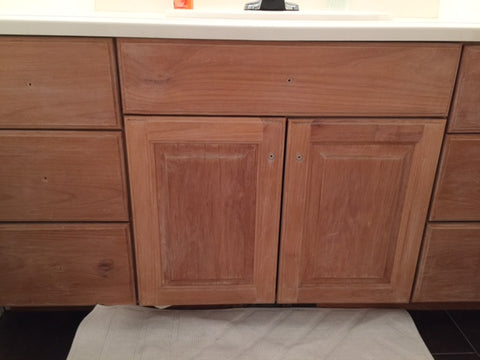
Let's get started!
I used two different blog posts to get my information. I read about a million on painting cabinets and these two felt like they had the best information:
The first post used a roller, and the second used a sprayer. I did both! Ill get into that more in a bit, but here is your supply list:
SUPPLIES:
- All Purpose Cleaner (something that is good on grease and grime)
- Lint Free Cloth
- Painters Tape ( My personal favorite is the Frog Brand, its green)
- High Quality Paint Brush (I like the brand Purdy) size 1 1/2
- Small foam roller ( Packaging usually says for cabinets)
- Primer ( I like this one from Zinsser best)
- Sand Paper (I used a 120 and 220 grit)
- Dixie Cups (We used these to prop the cabinet doors off the floor, they sell risers at the hardware store but these do the same thing and are cheap!)
- Sprayer, this is optional, but I HIGHLY recommend it! If you plan to do a lot of furniture painting, or really any painting this investment is so worth it! This one from Graco was only $149.00 on Amazon. I LOVED it! I also watched a bunch of youtube videos on this particular product before I purchased and everyone loves it too.
- Paint! We used Behr Enamel Alkyd interior Semi-gloss paint in the color "Gray Pepper". This type of paint is Self-Leveling, it is less likely to show brush strokes and dries really smooth. I think Behr paint gets a bad rep sometimes. My feeling is, if it's a project you are doing a good amount of prep then Behr works great and is affordable.
- A Polycrylic Protective finish ( We like this one from Minimax and have used it on several projects. Be sure to use a good quality brush for this too).
Now you are ready to get started! You will do all the same steps to the vanity as well. I taped off the inside edges after I cleaned and sanded the vanities.
First, clean all the cabinets and drawers with your all purpose cleaner and remove all hardware. I left the mounting brackets on because the inside of our cabinets were white and looked nice, so I just taped them so they didn't get paint on them!
Now to sand! This takes a while. You can use a hand sander or simply use the sheets. I used the sheets and did it by hand while the baby slept(we own a hand sander, I thought it would be too loud). I used the 120 grit for sanding these.
After you sand, use your lint free cloth to wipe off the sawdust.
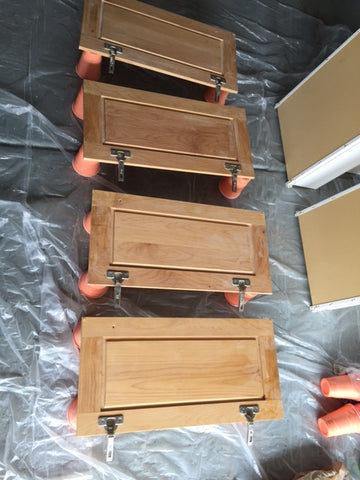
Those are the brackets I taped up.
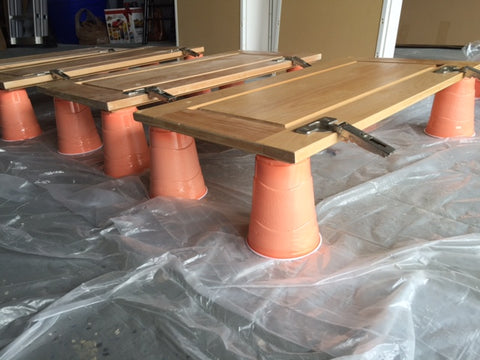
Remember the Dixie cups???
I primed the backs first, then did the fronts.
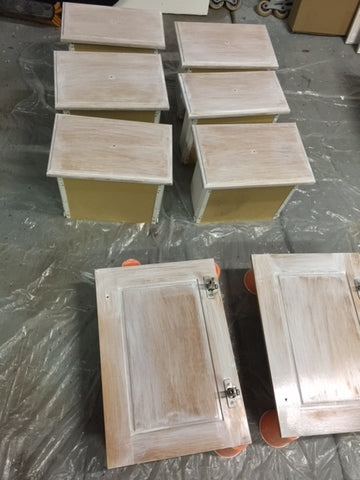
With Primer you just use a thin layer. It's a good thing if the wood shows threw. I used a paint brush to do the trim and then rolled the front flat surfaces.
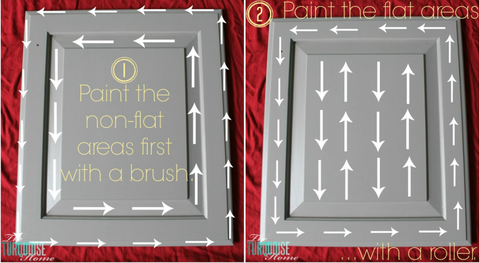
This image is from The Turquoise Home Blog (also a great reference) it shows perfectly how you should paint your cabinets! Here is their post:
Once the primer is dry, you can lightly sand with the finer sandpaper. After you do this get rid of the sawdust again.
You are ready to paint. We moved all of this to the backyard and used the sprayer. If you are using a sprayer, read through the manual first (it's not very long, but super helpful). If you are using a roller, use the same method above. I did the backs let them dry for 4 hours and then did the fronts. I used a roller and brush on the inside vanity. Our vanities have a few faux drawers so I for sure wanted to use the roller on those.
I then let them dry over night. Now time for the protective finish. I decided to do this with a brush. It took a while because you want it to be nice and smooth. It says to do 3 coats, I only did two because I felt like that was good enough coverage. I let these try overnight as well.
The next day we admired our handy work! and drilled new holes for our new hardware!
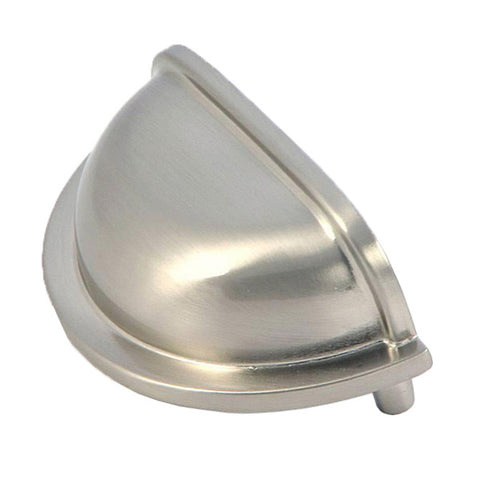
We got these ones for the drawers for a great price from Overstock.com

And these ones for the cabinets, also from Overstock.com
Then after all that we put everything back!!!
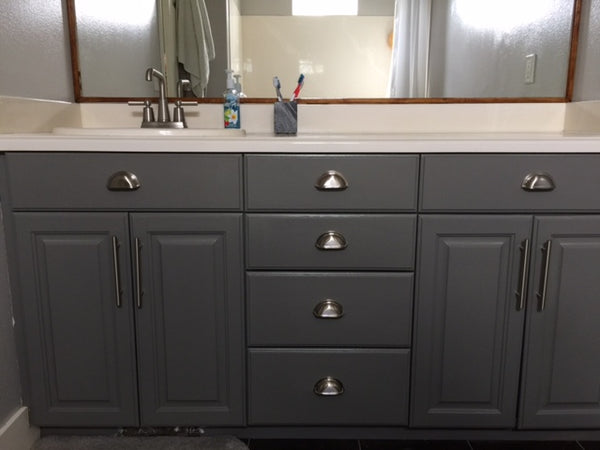
Here is the Master Bathroom After:
And then here is our other bathroom:
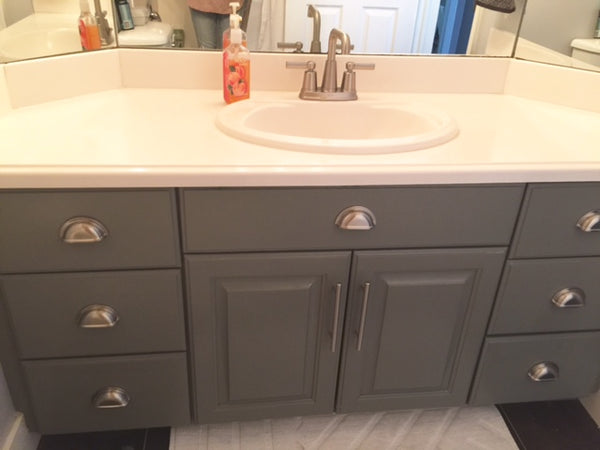
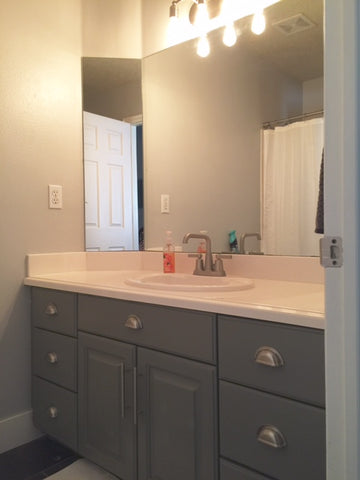
Looks nice huh?! I'm really happy with how it turned out. It was indeed a labor of love and I won't be doing anything like that anytime soon but I'm glad I did. We ended up painting both bathroom walls too. The color is Behr "Ground Fog". I think it helps the cabinets really pop. We also got new faucets and light fixtures.
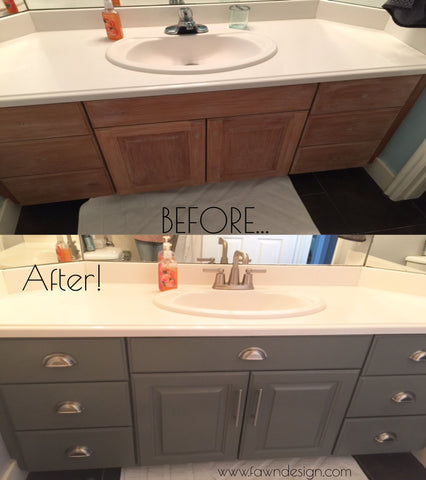
I love how updated the space looks!
That's it for now!
Jenny
